# nodl One SSD upgrade
Applies to:
nodl One with encryption ("unlock" password) or nodl One Mk.2 (1TB)
# Why Upgrade
If your SSD ran out of space due to the increasing size of the blockchain and indexes, you need to upgrade to a bigger drive. You may also need to upgrade or replace the SSD if it's running out of spare blocks (end of lifetime).
# Before you start
Required tools:
- 2mm hex (T8 Torx works too) key or driver
- Phillips head screwdriver
- Sharp knife or fishing line (to carefully separate the hard drive from the board)
- USB 3.0 to SATA cable (we recommend the Sabrent brand, though others may work)
Required parts:
- 2.5" SATA SSD (2TB or 4TB) - our preference is the Samsung EVO 870 range
- Strip of double sided tape (optional)

# Step 1 - Shutdown your device
Shut down your NODL One only after it is unlocked and connected. Use the red button in the UI to do so. Wait a few minutes until the device doesn't show network and disk activity.
WARNING
DO NOT UNPLUG THE DEVICE WITHOUT SHUTTING IT DOWN PROPERLY.
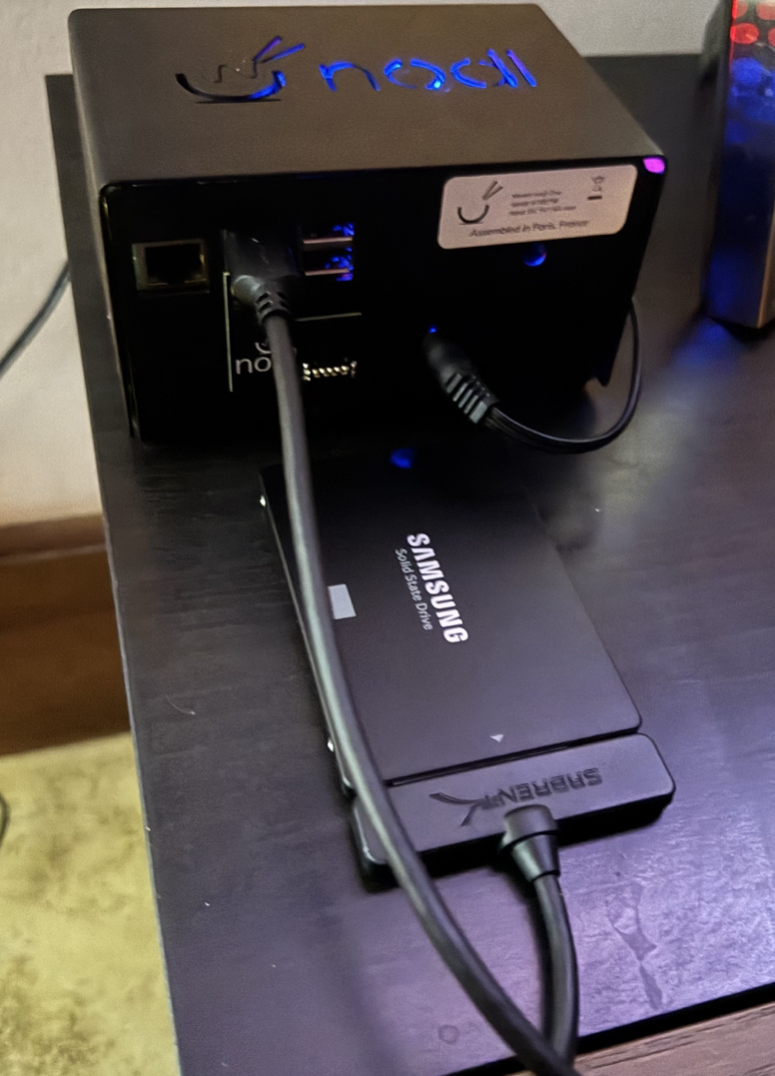
# Step 2 - Connect the new drive
Connect your replacement drive to the NODL using the USB 3.0 to SATA cable.
You can plug the cable into:
- The blue USB port (located above the L-shaped board). Faster (~1.5 hours) but with a higher risk of crashing
- One of the black USB ports. Slower (~9 hrs 15 min) but more stable
If correctly installed, blue light should be lit on the cable.
# Step 3 - Power on the nodl
Plug in and power up the NODL.
WARNING
DO NOT UNLOCK THE DEVICE
If you're using a Mac, open the Terminal app. On a recent Windows, open cmd.exe or PowerShell. On Linux, open any terminal of your choosing.
# Step 4 - Clone the drive to the new one
Run the following commands from your terminal.
ssh rock@NODL—NAME.local -p 22222
or
ssh rock@192.168.xx.yy -p 22222
Replace NODL-NAME with the actual two words name of your nodl or the IP address with the actual IP address.
When prompted, enter the SSH password (provided in the letter included with your device).
Gain permanent root access running:
sudo su -
Then check that the new drive is visible:
ls /dev/sd*
You should see:
/dev/sda /dev/sda1 /dev/sda2 /dev/sda3 /dev/sdb
WARNING
If you don't see /dev/sdb turn off the device by runnung halt -p, wait a few minutes, unplug the power, plug the external drive into another USB port and restart from Step 3.
WARNING
You may see /dev/sda /dev/sdb /dev/sdb1 /dev/sdb2 /dev/sdb3 instead. If it's the case, don't continue the process and contact support immediately. If you continue YOU WILL ERASE ALL YOUR EXISTING DATA.
Start a screen session. This will allow you to reconnect to the device if your SSH connection gets lost or if you turn off your computer:
screen
You will see a splash screen, simply press the Enter/Return key to continue.
The pv command will allow you to see progress, to check if it's installed and install it if it's not, run the following (we also install cloud-guest-utils which will be required later):
apt update ; apt -y install pv cloud-guest-utils
We can now begin the clone process:
dd if=/dev/sda bs=1M | pv | dd of=/dev/sdb bs=1M
If SSH disconnects or if you need to leave with your computer, you can SSH back into the device:
ssh rock@NODL—NAME.local -p 22222
or
ssh rock@192.168.xx.yy -p 22222
Then run
sudo su -
and
screen -dr
You will re-attach to your previous session and see what happened while you were disconnected.
At the end of the copy, you should see something similar to:
1000204886016 bytes (1.0 TB, 932 GiB) copied, 30246.6 s, 33.1 MB/s
root@NODL-NAME:~#
You can now safely shutdown the device by running:
halt -p
Wait a few minutes and unplug the power, then the drive.
# Step 5 - Hard drive replacement procedure
# Step 5a - Remove the philips screws
Unscrew the four Phillips head screws located under the outer casing of the NODL One.
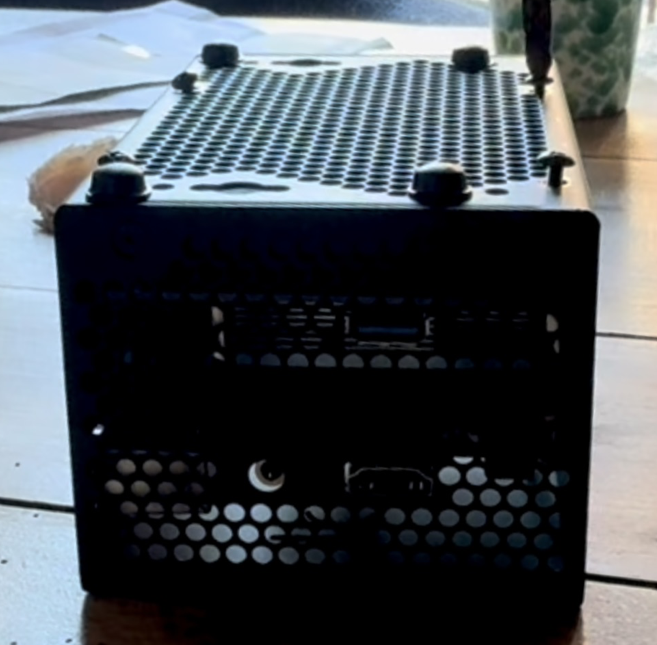
# Step 5b - Remove the hex screws
Using the hex or torx key or driver, remove the four remaining screws securing the internal structure.
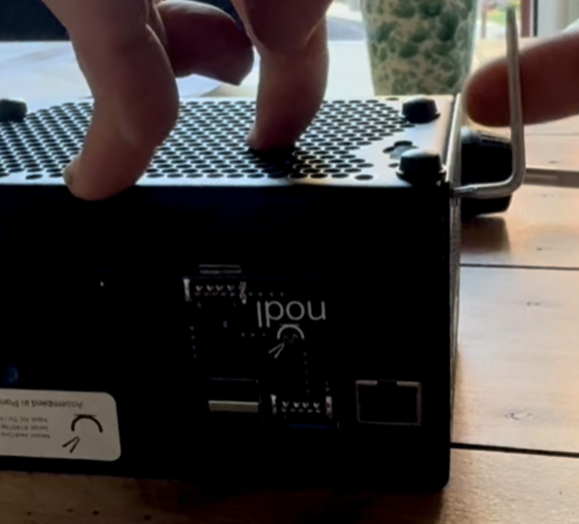
# Step 5c - Disconnect the L-shaped nodl bridge board
Carefully detach the L-shaped bridge board from the USB ports.
# Step 5d - Store Small Parts Safely
Place the bridge board and all removed screws in a small plastic bag or container to avoid misplacing them.
# Step 5e - Remove the Outer Casings
Gently separate the top and bottom parts of the outer case.
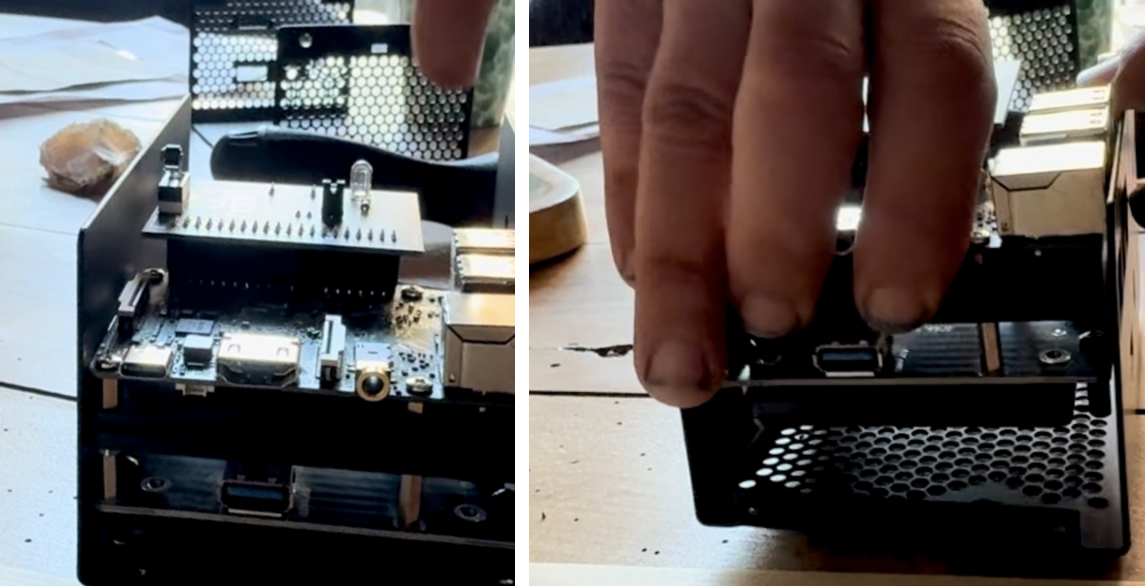
WARNING
Be careful not to damage or put pressure on the ports during this step.
# Step 5f – Remove and Replace the Hard Drive
- Use a sharp knife or fishing line to carefully separate cut the glue/ double sided tape on the drive from the mounting board.
- Disconnect the SATA data and power connectors from the old drive.
- Plug in your new cloned drive.
- Press it gently into place, making sure the connectors are properly aligned.
# Step 5g - Reassemble the NODL One
- Reattach the lower outer casing with the Phillips screws.
- Reattach the lower outer casing with the Hex or Torx screws
- Reconnect the L-shaped USB bridge board by firmly pressing it into place.
# Step 6 - Expand to use the new available space
Power on the device and wait a few minutes, then SSH back into the device:
ssh rock@NODL—NAME.local -p 22222
or
ssh rock@192.168.xx.yy -p 22222
Become root:
sudo su -
Increase the size of the sda3 partition (yes, there is a space between sda and 3 in this command):
growpart /dev/sda 3
Increase the size of the md1 array:
mdadm --grow /dev/md1 -z max --assume-clean
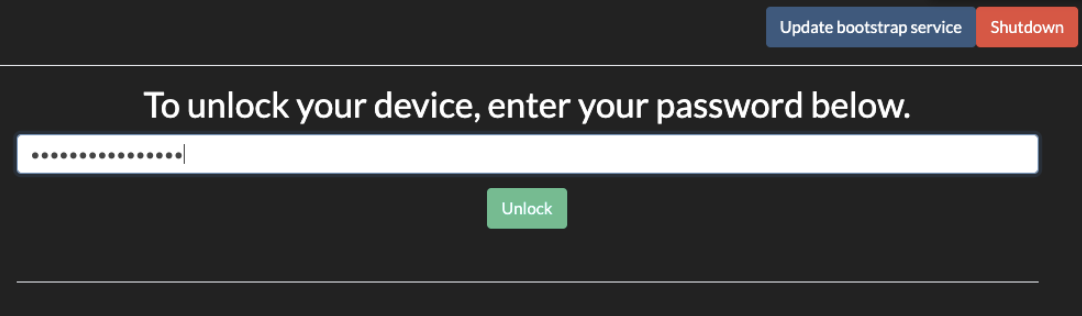
Go to the nodl UI and unlock device by entering the "unlock" password:
Once unlocked, increase the size of the encrypted partition:
cryptsetup resize opt
resize2fs /dev/mapper/opt
After a few minutes, you should see the now increased available space in the UI.
Finnaly, remove the empty settings.json file that was created when the disk became full:
rm /mnt/opt/bitcoin/.bitcoin/settings.json
Enjoy your "new" nodl!
Many thanks for our user for contributing this guide.